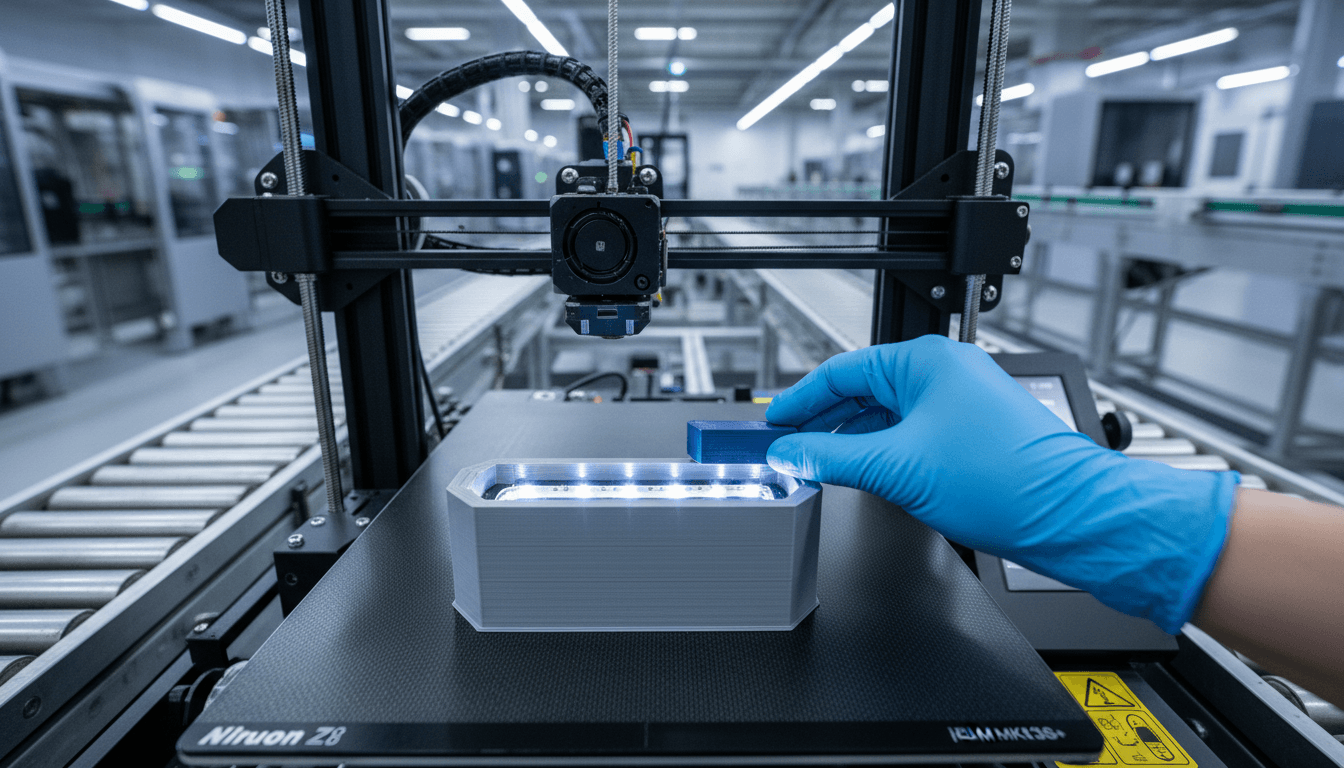
The gap-cap technique, a groundbreaking method for embedding hardware in 3D prints, is revolutionizing how makers and manufacturers integrate components into their creations. A recent article on Hackaday, dated March 27, 2026, details this innovative approach, which effectively addresses the persistent challenges of embedding larger or irregularly shaped objects where traditional, simpler methods often falter.
Traditionally, embedding hardware like nuts or magnets into 3D prints involved merely pausing the print and resuming after insertion. While effective for small, flat items, this approach becomes unreliable with larger or non-flat components, leading to adhesion issues and compromised print quality. The gap-cap technique provides a robust solution, ensuring secure and clean integration.
Understanding the Gap-Cap Innovation
At its core, a gap-cap is a precisely 3D printed lid designed to cover inserted hardware during a paused 3D print. This ingenious addition acts as a bridge, transforming an irregular surface into a flat, printable one. This technique is particularly valuable when robust and clean integration of components is a priority, such as embedding an LED strip mounted on its side or larger fasteners.
The Seamless Gap-Cap Process
Implementing the gap-cap technique involves a straightforward, yet highly effective, sequence of steps:
- Pause the Print: The 3D printing process is halted at the exact layer where the hardware is intended to be inserted.
- Insert Hardware: The desired component, be it an LED strip, a custom sensor, or a threaded insert, is carefully placed into the pre-designed cavity within the print.
- Apply Gap-Cap: A pre-printed, form-fitting gap-cap, specifically designed for the embedded hardware, is then securely placed over the component.
- Resume Print: The 3D print is restarted, with subsequent layers printing directly and reliably on top of the smooth, flat surface provided by the gap-cap.
“The gap-cap technique is a critical advancement, transforming a previously unreliable process into a precise and consistent method for integrating diverse hardware into 3D prints.”
Why the Gap-Cap Technique is Essential
The strategic use of a gap-cap addresses several persistent issues in 3D printing. Its primary functions are multi-faceted and crucial for achieving superior results:
- Sealing: It securely encapsulates the embedded part, protecting it and preventing movement within the print.
- Filling Empty Space: The gap-cap effectively fills any voids or empty spaces above the component, which is vital for preventing issues with subsequent layers sagging or failing to adhere properly.
- Flat Surface: Crucially, it provides a smooth, flat surface for the printer to lay down subsequent layers. This is paramount because 3D printer filament often struggles to adhere directly to embedded hardware, especially if the hardware itself is not flat or has an irregular texture. This ensures a cleaner, more reliable, and structurally sound print.
Embedding hardware in 3D prints offers significant advantages, including stronger connections compared to printed threads and the ability to create complex, multi-functional geometries. However, challenges like poor filament adhesion to hardware, difficulty sealing irregular shapes, and print pause errors (shrink lines, skipped layers) have historically hindered its widespread adoption, especially in related Industries news. The gap-cap technique directly mitigates these problems, making advanced hardware integration more accessible and reliable.
By providing a stable and predictable interface, the gap-cap technique enhances the overall quality and reliability of 3D printed objects containing embedded components. This innovation not only streamlines the production process but also opens up new possibilities for creating more complex, durable, and functional designs across various industries, from prototyping to specialized manufacturing.